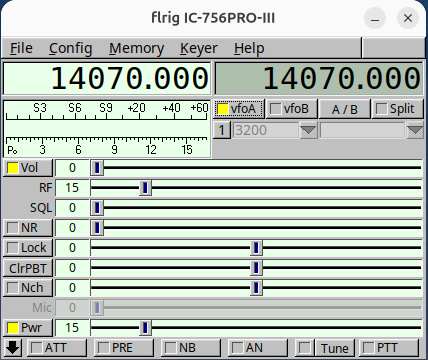
There are two ways to install FLRIG:
FLRIG is available in the Mint Repository.
This can be done in one of two very easy ways:
By using the Graphical User Interface (GUI):
On your Mint desktop, press the “Linux Mint Menu” (just Menu from now on)
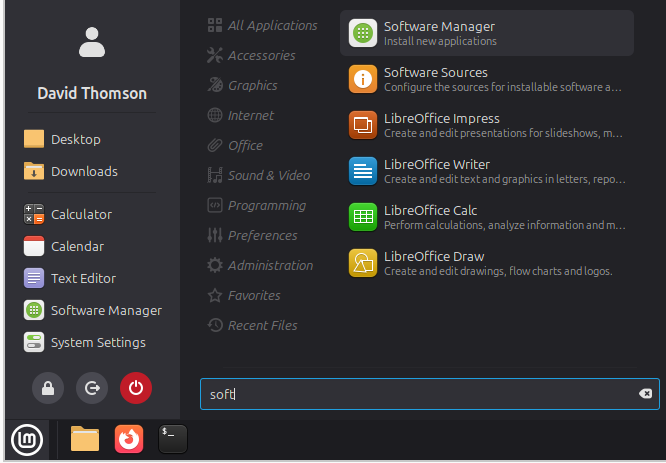
At the Menu, you can type a part of the name of the program you are looking you.
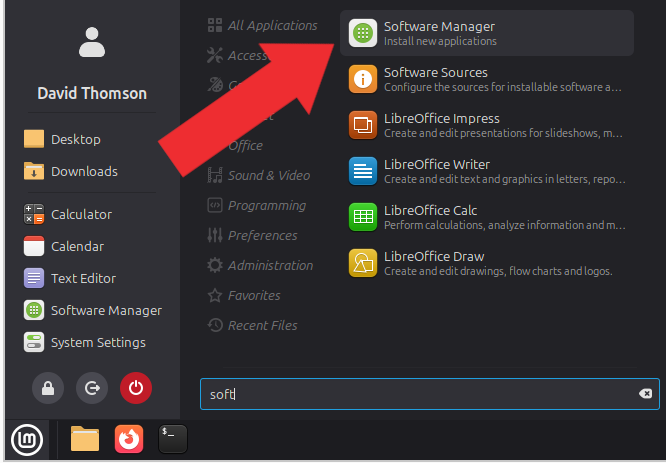
In this case type “software” to get to the Software Manager
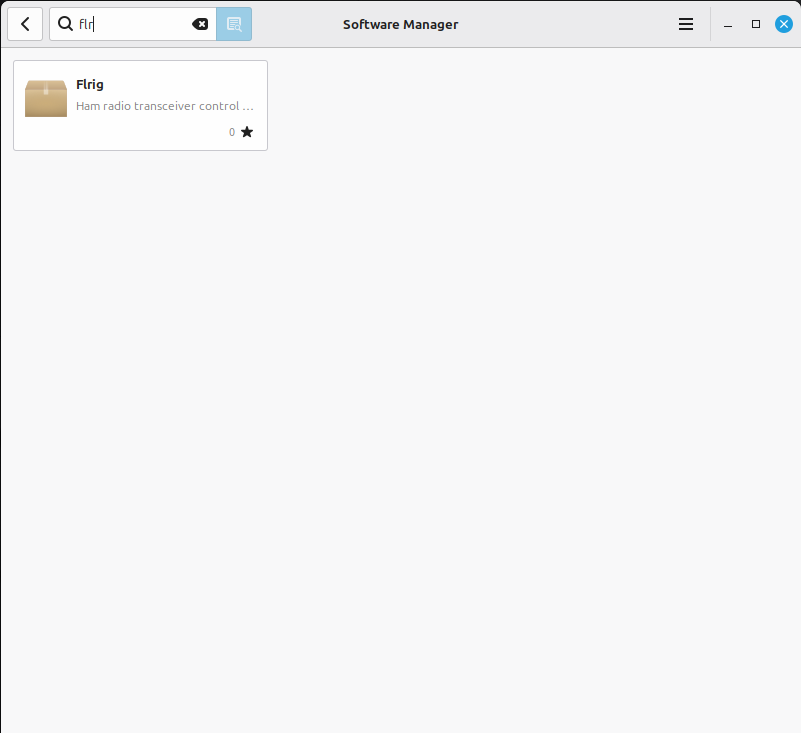
In the Software Manager’s search window, type “flrig”
Flrig shows up in the window
Click on Flrig
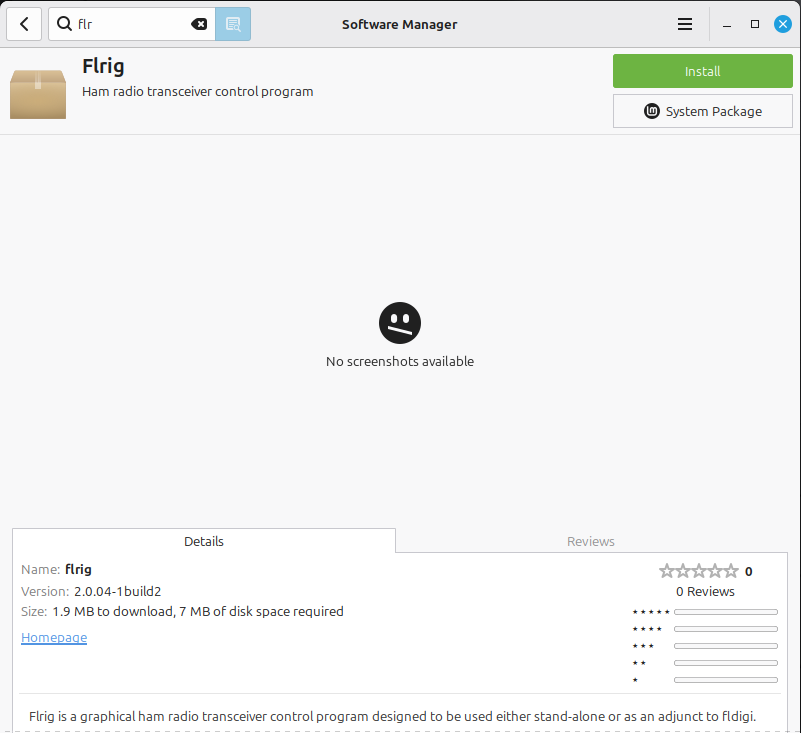
Install it by pressing the green “Install” button, but let’s NOT do that yet.
Notice that the version is 2.0.04-1build2
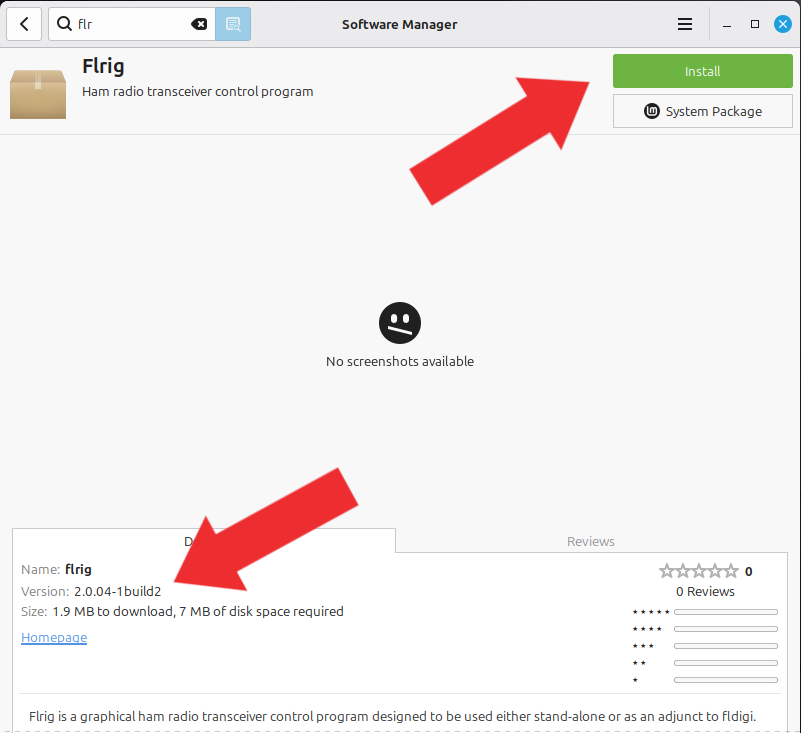
Let’s “Google” flrig.
Three good links appear:
- W1HKJ Software
- W1HKJ/flrig on GitHub
- Download flrig-2.0.10 on SourceForge

It’s decision time:
- Easy installation of version 2.0.04-1build2 1
- “Manual Installation” of flrig 2.0.102
- Run the Installation Script for 2.0.10 3
- When I see “1build2” it’s generally a pre-release/beta.
- Recommended for better understand Linux and Mint.
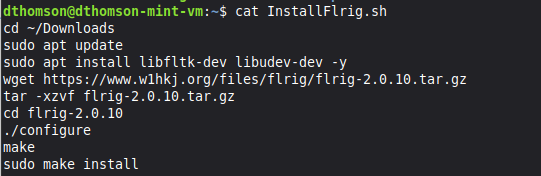
- I summarized this and built a simple script that automatically does all items on this page.
I recommend at least reading the script for better understanding.

- If you want to install the version that is available in the Mint Repository.
- Return to the Software Manager, search for flrig and press install.
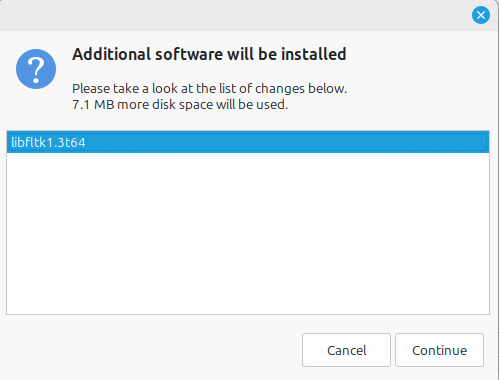
- If additional software dependencies are needed, the Software Manager will calculate that, and tell you it is installing additional packages.
Click “Continue”
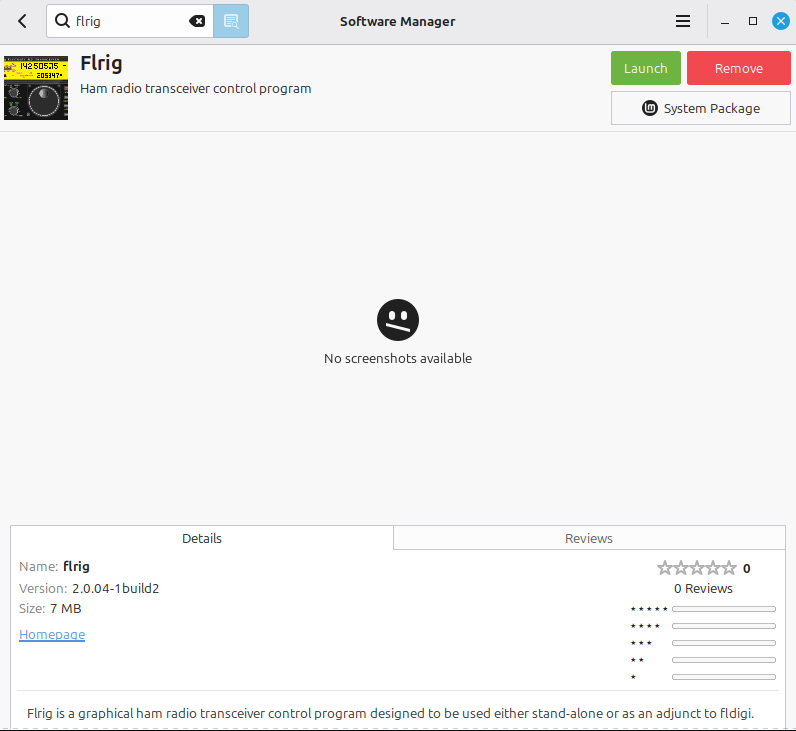
- Flrig is installed!
- To start the program from here, click the green “Launch” button
- If you want to install the most recent version you need to determine where to get it. Check the three sites from above.
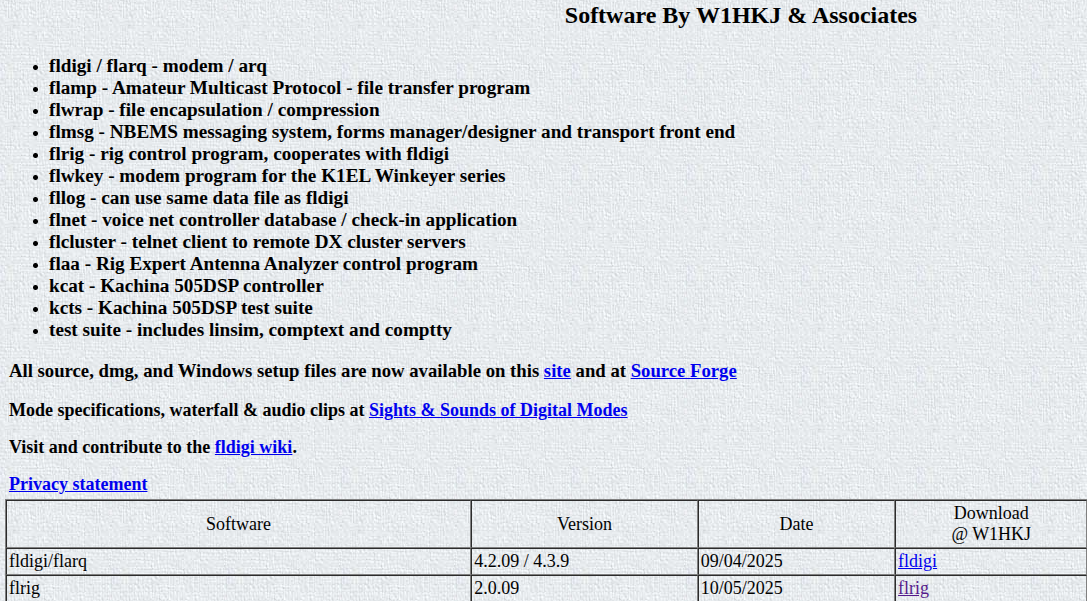
- W1HKJ Software – https://w1hkj.org/ has version 2.0.09 – If you click on the link it actually takes you to version 2.0.10.
-
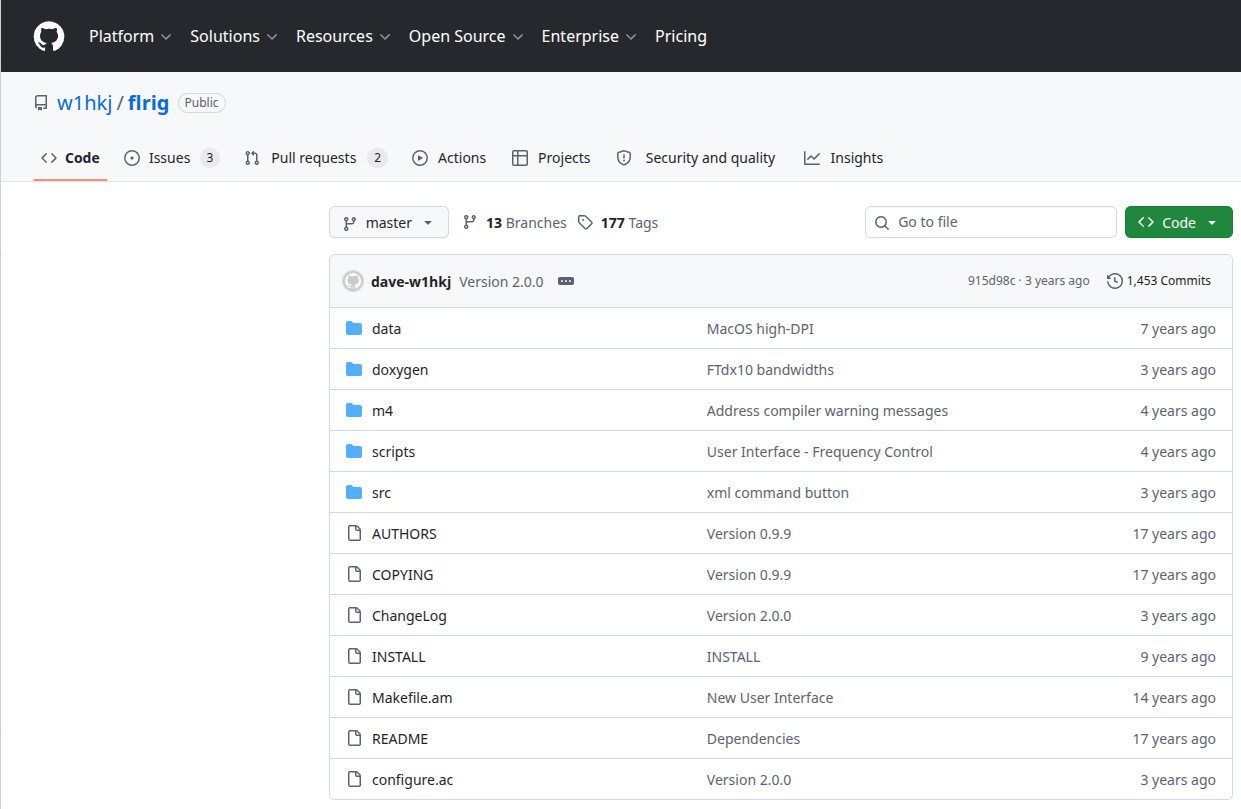
- “W1HKJ/flrig on GitHub” – https://github.com/w1hkj/flrig
- The main page shows some files at version 0.99 and the ChangeLog file at 2.00.
- I examined the ChangeLog file’s last entry is from 2023/05/15 and the file is dated “3 years ago.”
- “W1HKJ/flrig on GitHub” – https://github.com/w1hkj/flrig
-
- “Download flrig-2.0.10 on SourceForge” –
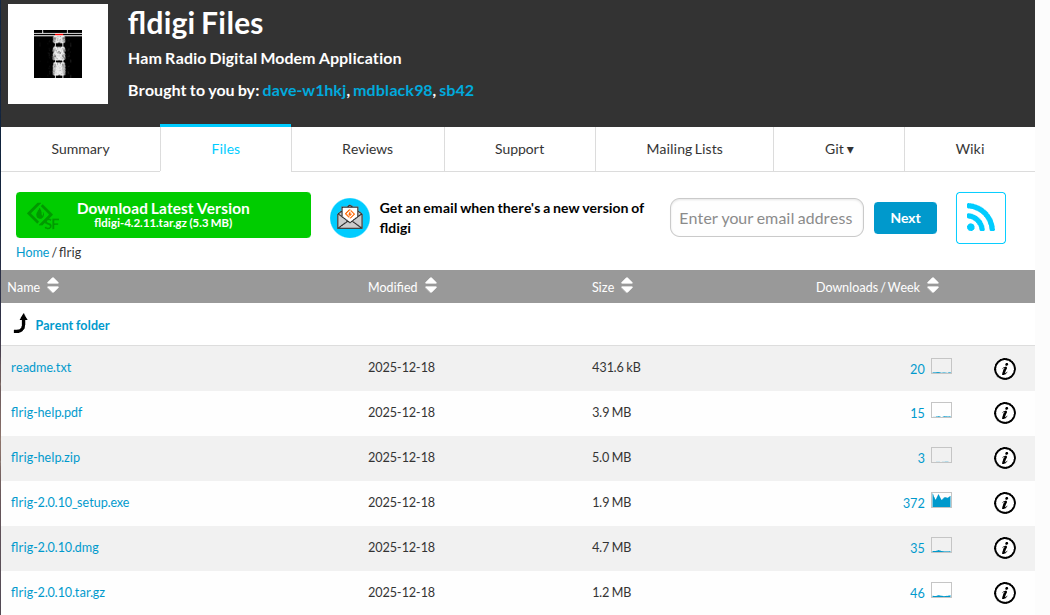
https://sourceforge.net/projects/fldigi/files/flrig/- It appears to have flrig-2.0.10.tar.gz
- “Download flrig-2.0.10 on SourceForge” –
-
- This appears to be the correct place to download the program’s source code
- To download this, click on flrig-2.0.10.tar.gz
- This appears to be the correct place to download the program’s source code
-
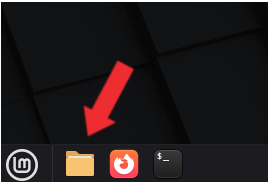
- Open Linux Mint’s “Files” system.
-
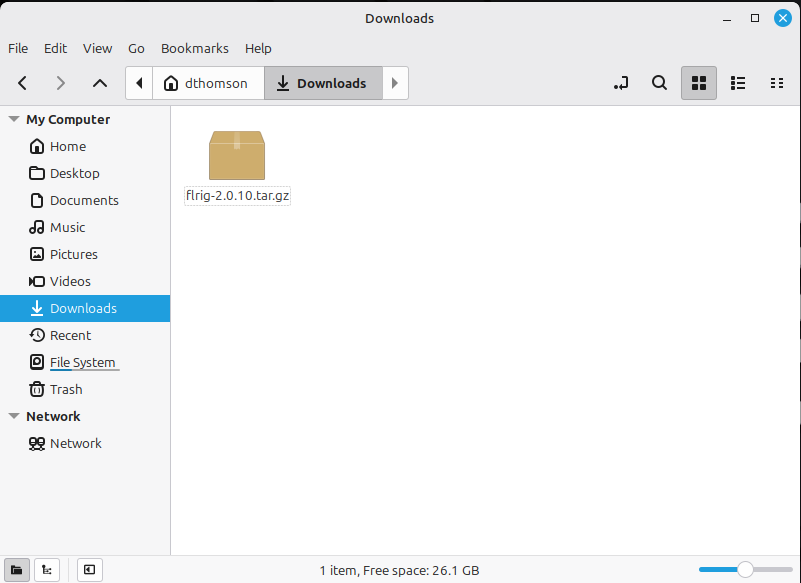
- Navigate to the Downloads directory.
-
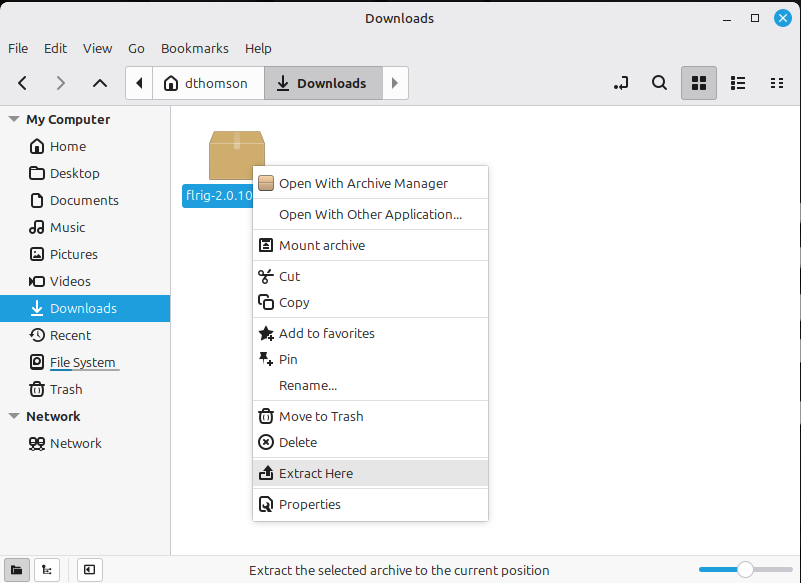
- Right-click on the flrig-2.0.10.tar.gz
- Click on “Extract Here.”
- The tar.gz file will be extracted to a new directory.
- Note: .tar.gz is a “tar” (Tape Archive) utilizing “gz” (Gzip compression).
-
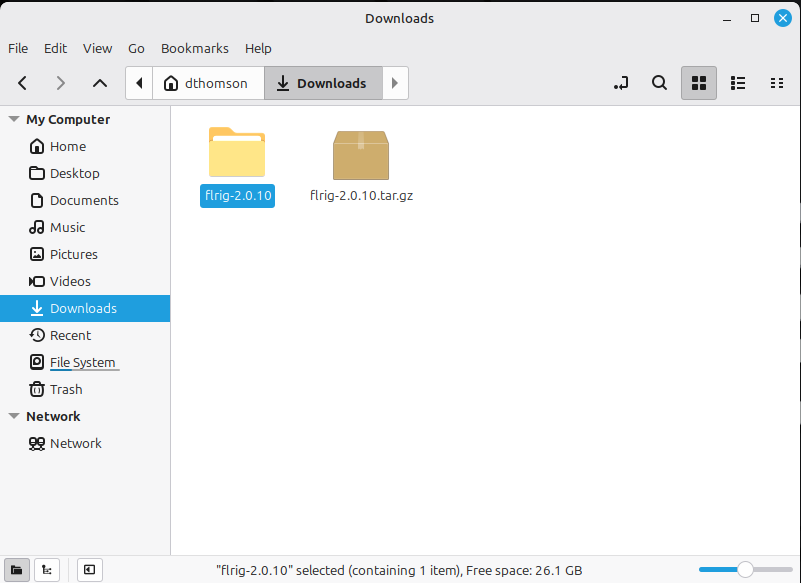
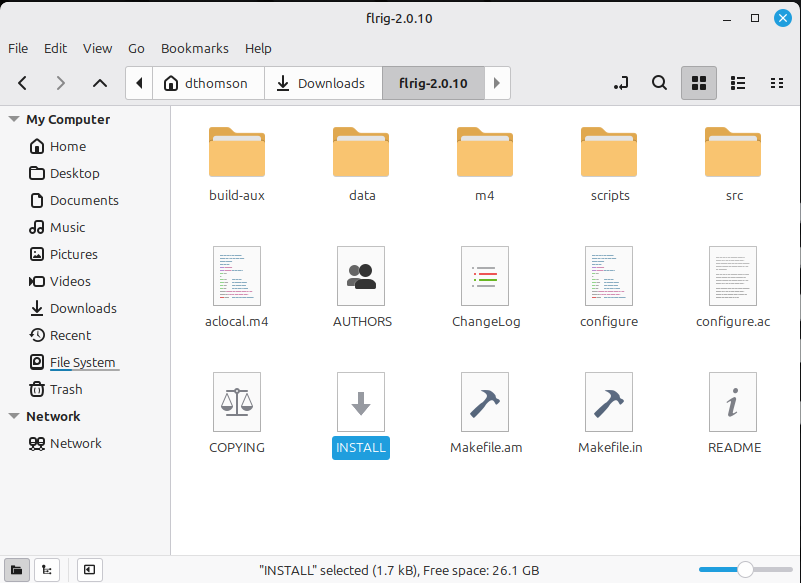
- Notice the new directory called flrig-2.0.10
- Double-click on the directory to open it.
-
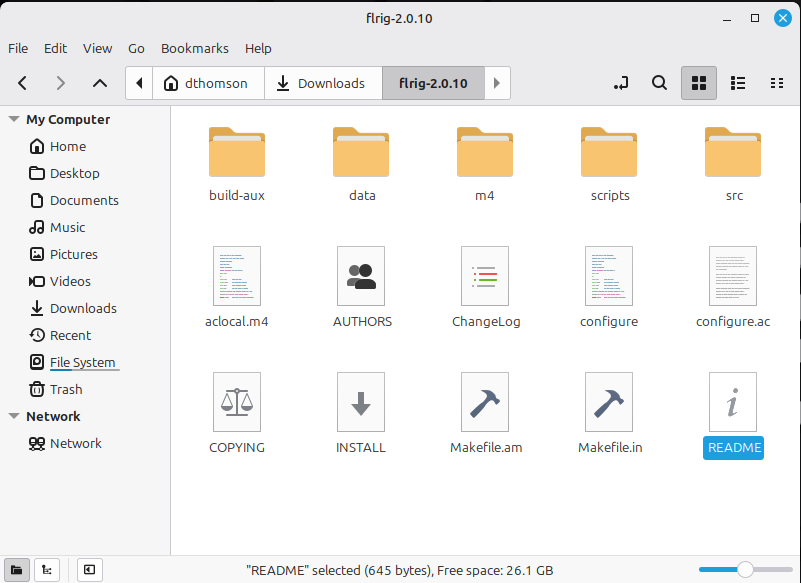
- This shows all of the files and sub directories in this directory.
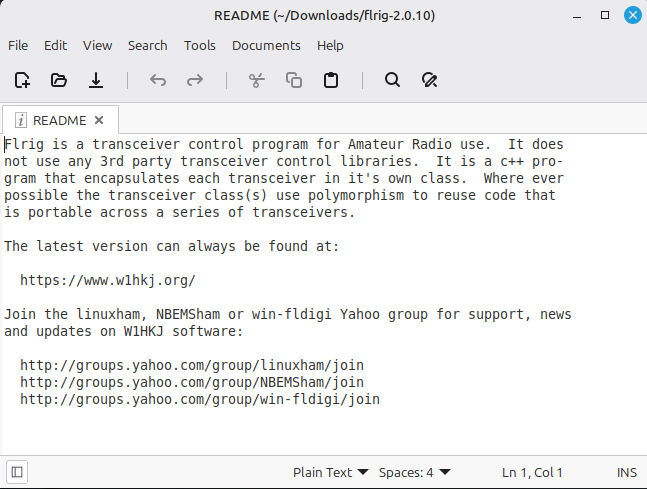
- Double-click on the README.
-
- The README gives general information on the system and where to find help.
-
- Double-click on INSTALL for instructions.
-
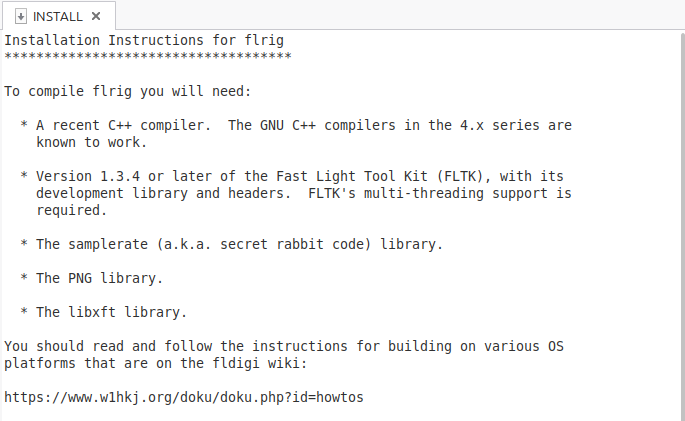
- The INSTALL file tells you how to install the software.
- This first portion tells you the dependencies that flrig has and additional sources of help.
- Linux Mint has a C++ compiler that is installed by default.
- You could search for the files that fulfill the other requirements, but try to compile it without this.
- This first portion tells you the dependencies that flrig has and additional sources of help.
- The INSTALL file tells you how to install the software.
-
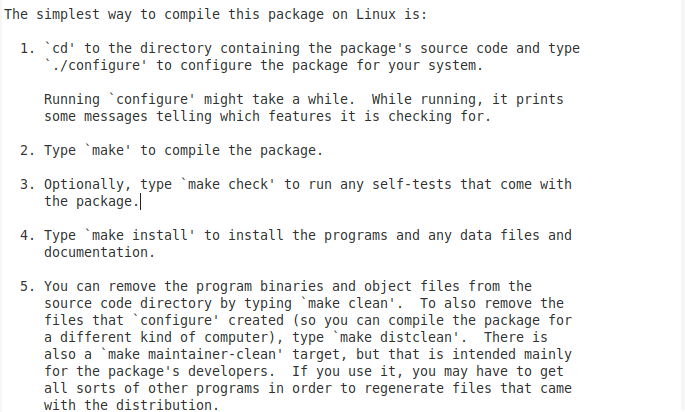
- This gives you the details of how to compile this software on your computer.
- Don’t do anything you will be coming back to this very soon.
- This gives you the details of how to compile this software on your computer.
-
- The rest of the process will be done using the Command Line Interface (CLI).
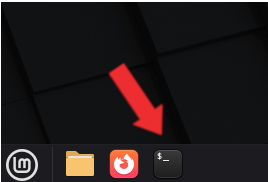
- Open the Command Prompt by clicking on the small black screen on the bottom of the screen near the left.
-
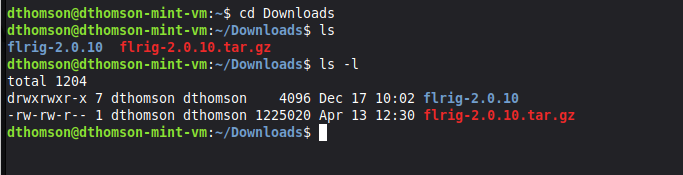
- Change Directory (cd) to the Downloads directory by typing:
- cd Downloads
- Look at the contents of the current directory (Downloads) by typing the abbreviation for list:
- ls
- For a more complete listing type use a ” -l” at the end of the command:
- ls -l
- Change Directory (cd) to the Downloads directory by typing:
-
- You can see the flrig-2.0.10 directory in the listing
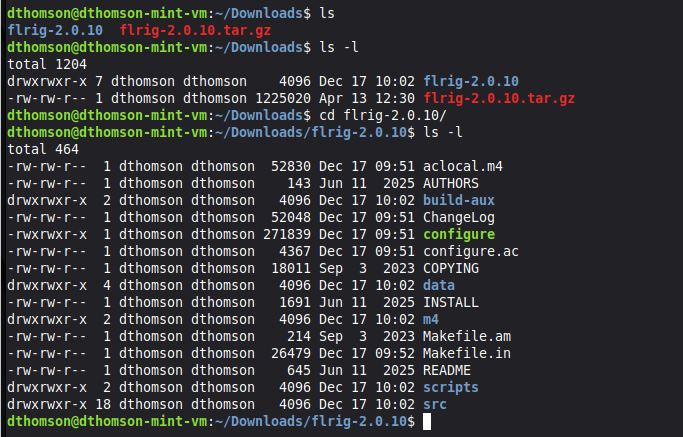
- Change into the flrig-2.0.10 directory by typing:
- cd flrig-2.0.10
- list the contents of that directory: ls -l
-
- Referring to the INSTALL above, you are going to start the compilation process by typing:
- ./configure
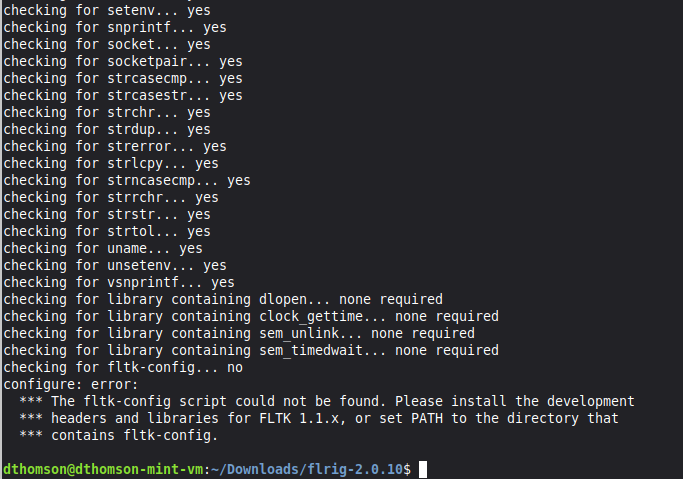
- configure checks for the requirements to compile flrig.
- You can see many items pass
- You can see at the bottom
- checking for fltk-config… no
configure: error:
*** The fltk-config script could not be found. Please install the development
*** headers and libraries for FLTK 1.1.x, or set PATH to the directory that
*** contains fltk-config.
- Referring to the INSTALL above, you are going to start the compilation process by typing:
-
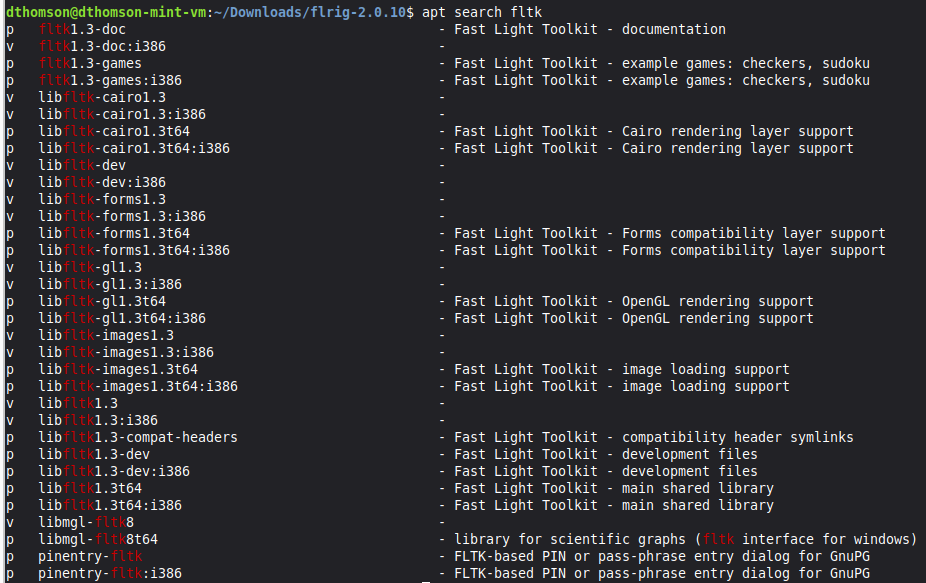
- Use the Mint installation tool “apt” to search for, and install fltk.
- apt has many options (you previously used update and upgrade to update packages in Mint)
- Because you are looking for fltk, use apt search fltk
- There are many results from the search, but you are looking for a library (lib) and you need the development headers (dev). You should use libfltk-dev
-
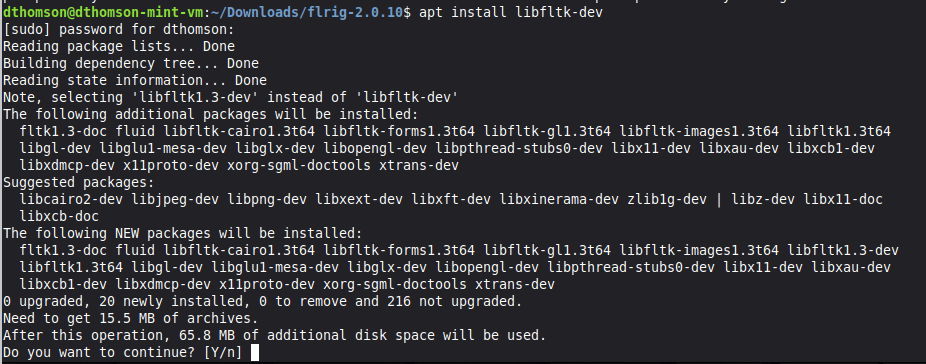
- Install it by simply typing: apt install libfltk-dev
- Since apt is a package manager, and it will determine any dependencies that fltk needs.
- fltk needs twenty (20) other packages to work. These will be automatically downloaded and installed when you confirm with a “y”
-
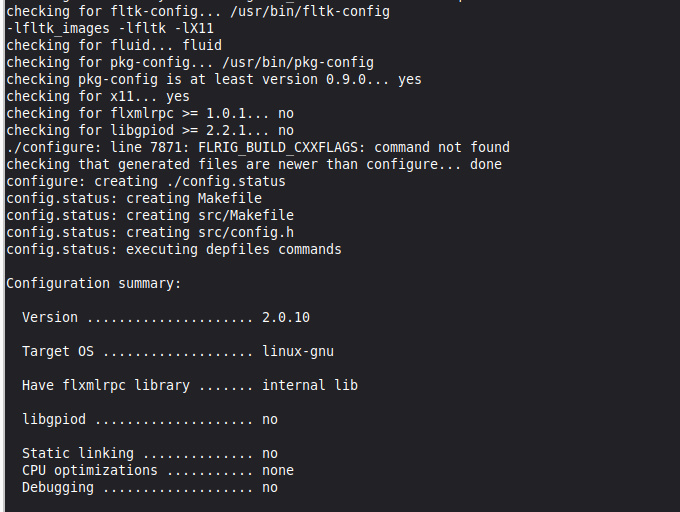
- Now that you have libfltk-dev installed try the ./configure again
- Linux CLI shortcut: press the up-arrow and it will go through your previous commands. When you see ./configure again, press <enter>
- It worked!
- Now that you have libfltk-dev installed try the ./configure again
-
- According to the INSTALL file, you need to issue the make command:
- type make
- This is the command that actually does the compilation. This can take several minutes to complete (my computers vary from 3 to 11)
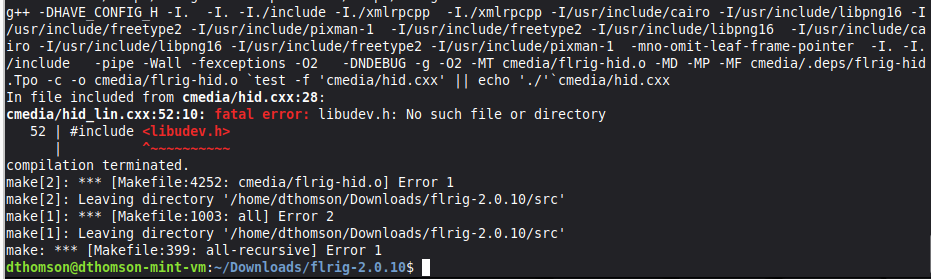
- Whoops, there is a compilation error:
- fatal error: libudev.h: No such file or directory
52 | #include <libudev.h>
| ^~~~~~~~~~~
compilation terminated.
- fatal error: libudev.h: No such file or directory
- According to the INSTALL file, you need to issue the make command:
-
- Try to find an apt package that may fix this error
- apt search libudev
- libudev-dev (lib = it’s a library, -dev it’s contains development headers) looks good
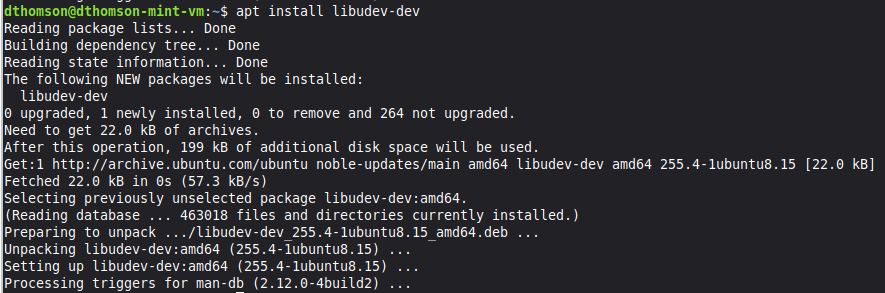
- Install libudev-dev using apt:
- apt install libudev-dev
- Try to find an apt package that may fix this error
-
- Try to compile again:
- make
- Try to compile again:
-
- Success!

-
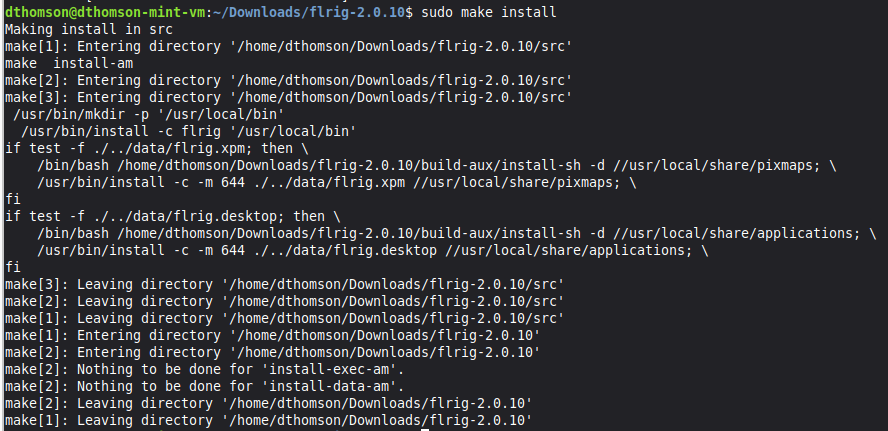
- The last step actually installs the program, so it must be done as the Super User:
- sudo make install
- The last step actually installs the program, so it must be done as the Super User:
-
- Success again.
-
- The most current version of flrig (2.0.10) is now installed on your computer.
-
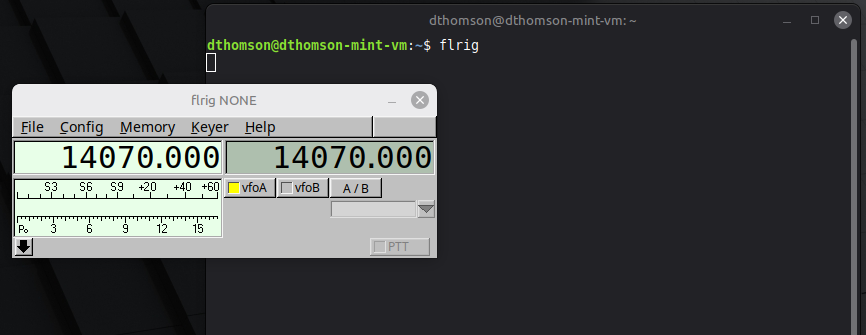
- Start flrig using your command prompt:
- flrig
- Start flrig using your command prompt:
-
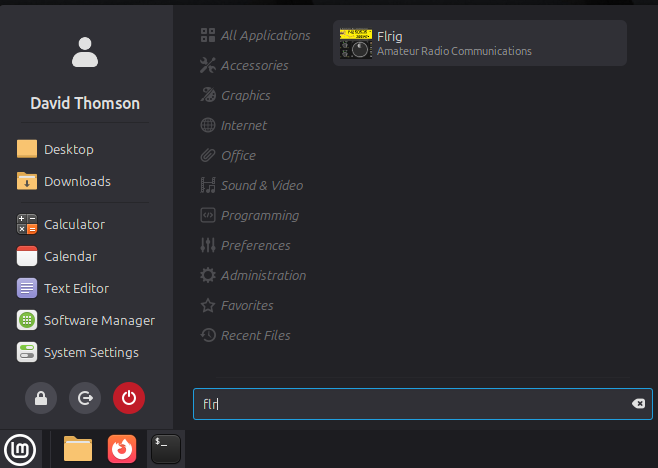
- After a reboot, flrig will show up on the Mint Menu.
- Run this installation script, which includes all the steps of “Part 2 – Manual Installation.”
- If you save this file to your Linux Mint computer you will have to change the permissions to “executable”. At the command prompt:
- Navigate to the directory where you saved it:
- cd ~/Downloads
- Change the file to allow it to be executed:
- chmod +x InstallFlrig.sh
- Execute the file:
- ./InstallFlrig.sh
- Navigate to the directory where you saved it:
- If you save this file to your Linux Mint computer you will have to change the permissions to “executable”. At the command prompt:
No comments to show.
Leave a Reply