Download and install Linux Mint and Rufus
Navigate to Linux Mint’s website
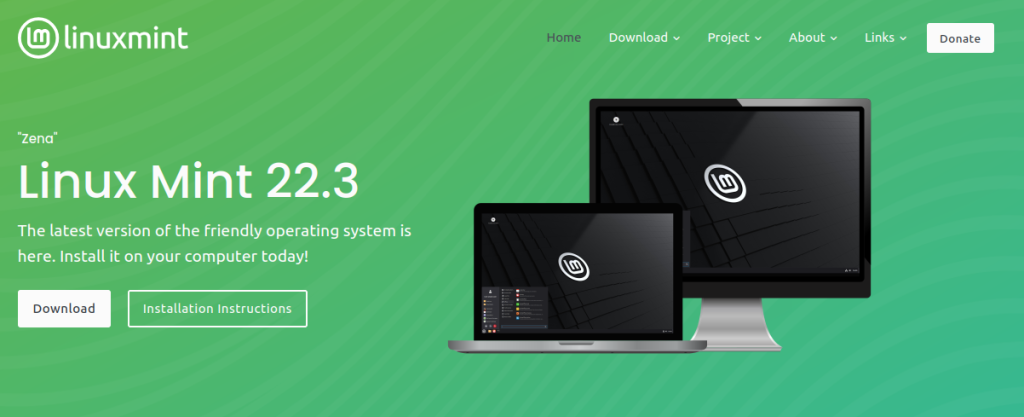
Download the latest desktop release (currently 22.3 “Zena”) and save to your computer
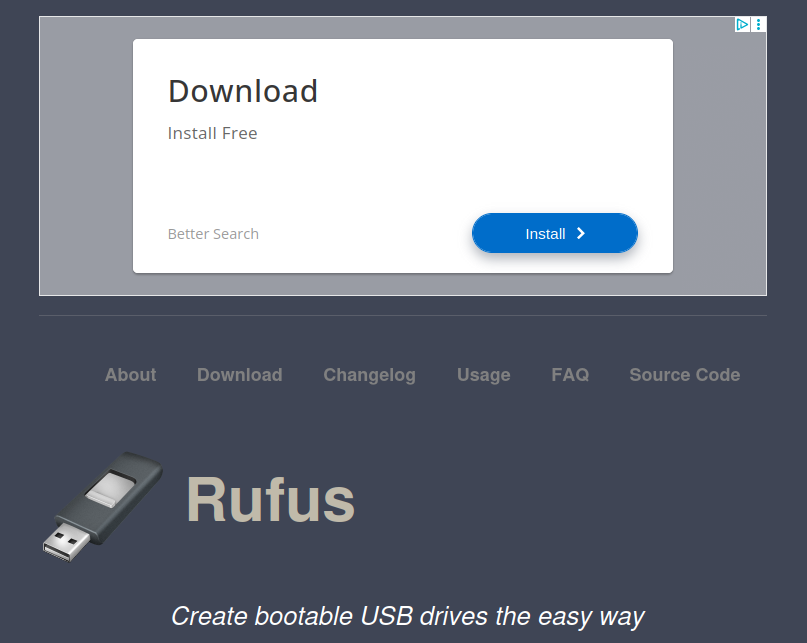
Navigate to the Rufus website. Rufus is used to create your bootable USB flashdrive.
Do NOT click “Download” on the top of this page
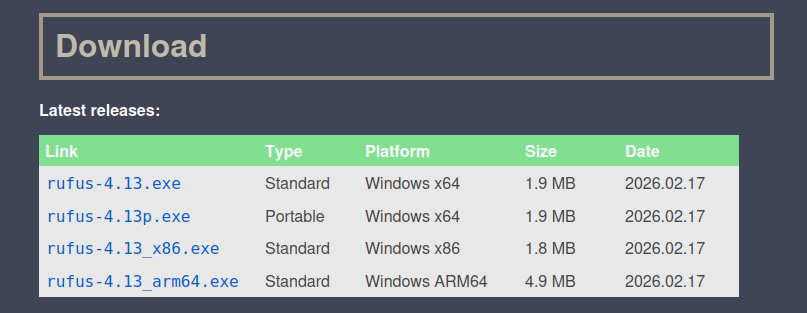
Scroll down to the Download area
Choose the current “Standard Windows x64”
In this case rufus-4.13.exe
Create Bootable USB Flash drive
Make sure your USB Flash drive is plugged into your computer
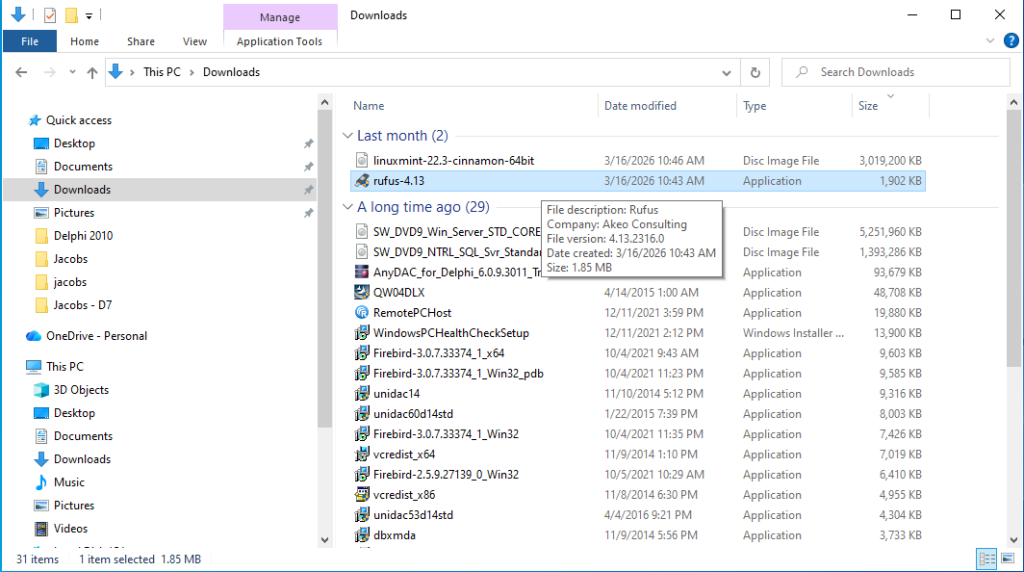
Find Rufus-4.13 in your Downloads directory.
Rufus does not need to be installed.
Start Rufus-4.13[.exe]
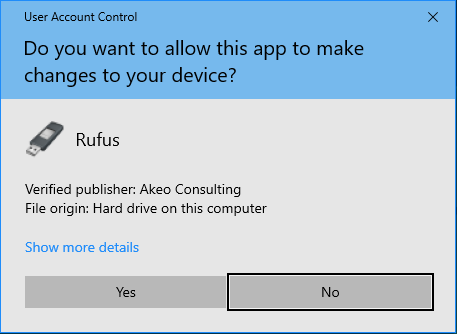
Windows will confirm that you want to run Rufus
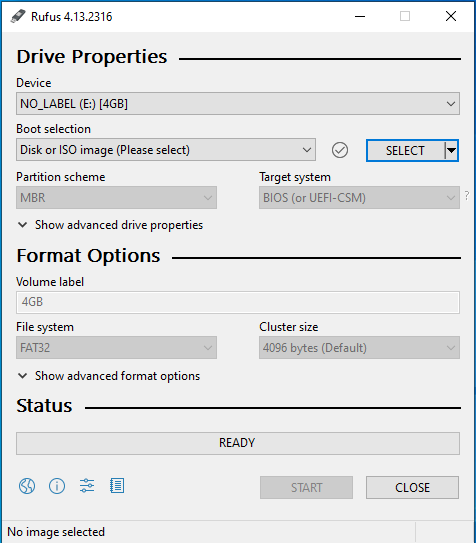
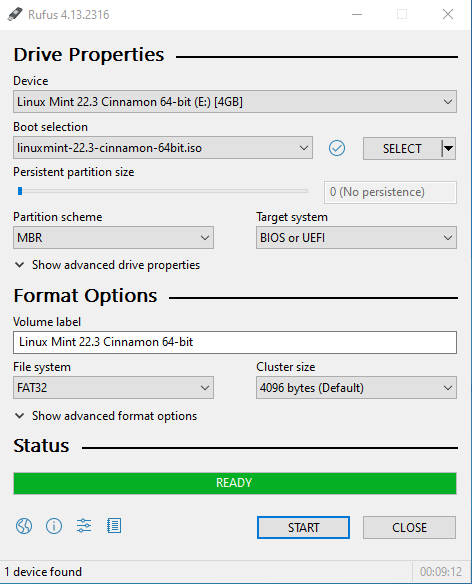
Select your USB flash drive under “Device.” Rufus will probably automatically select it.
Click Select
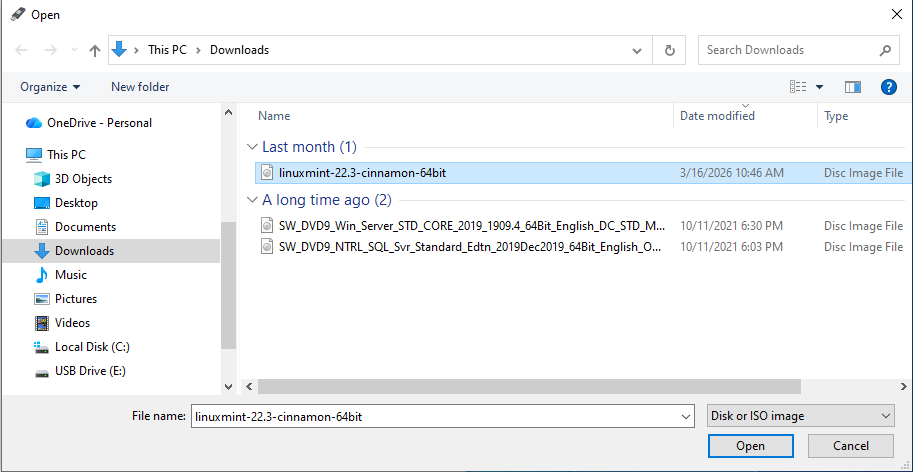
Choose the linuxmint-22.3 disk image
Confirm that the “Device” is your USB flash drive
Select “Start” to write Mint to the flash drive
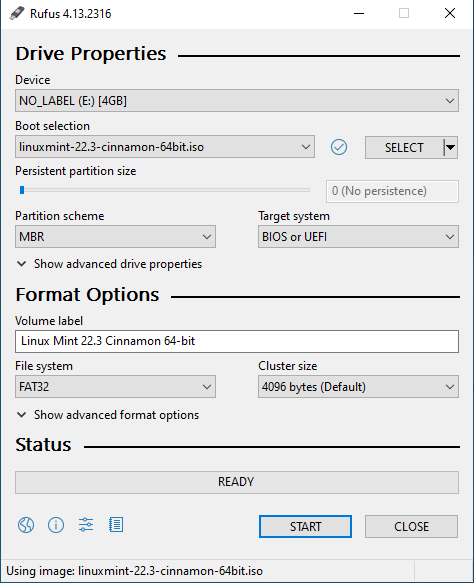
Write in ISO Image Mode
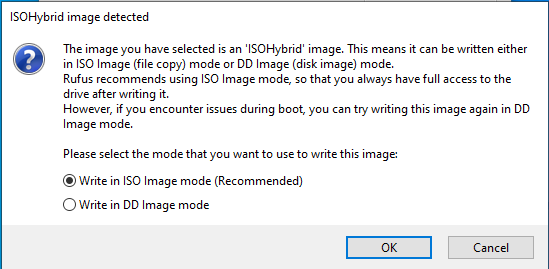
This is your confirmation that you will be rewriting the USB flash drive
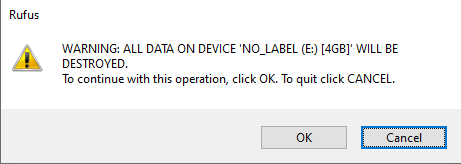
It will take several minutes to write Linux Mint to the flash drive
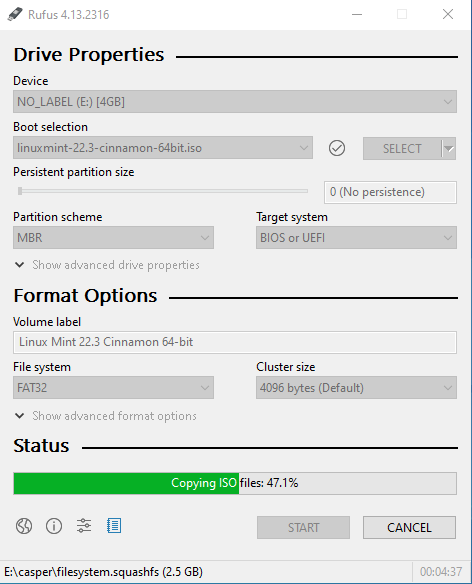
When the operation is complete, press “Close”
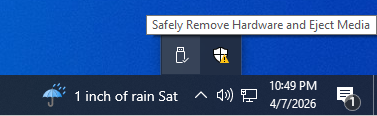
Make sure you “Safely Remove Hardware”
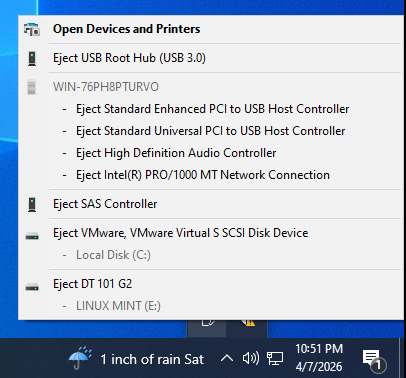
Select the device you need to remove.
In my case it was the
DT 101 G2 LINUX MINT (E:)
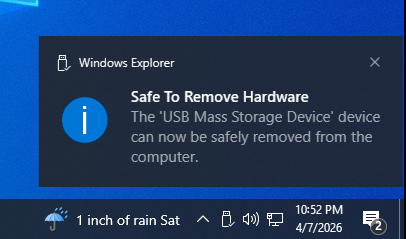
You will get a message stating it is safe to remove the USB flash drive.
Leave a Reply