
- Insert your flash drive into your computer.
- DO NOT start your computer yet as you need to prepare to enter the computer’s “Boot Menu.”
- When you start the computer (not yet) you will need to repeatedly press the correct key to interrupt the boot process. This will need to be done within a second or two of powering up. The most common keys are:
- Dell: F12 (or F2 for BIOS)
- HP: Esc, F9 or F10
- Lenovo: F12, F8 or F10
- MSI: F11 or Delete
- Acer: F2 or Delete
4. You may be presented with this information immediately when you start your computer. Depending on the computer it may last a very short time.
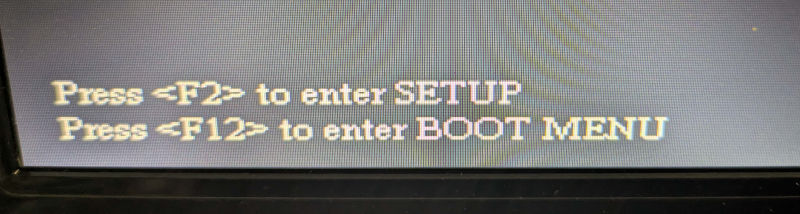
5. NOW turn on your computer – Repeatedly press the key (from step 3) – Enter the Boot Menu!
6: You will see a menu of devices to boot from.
Choose your USB flash drive.
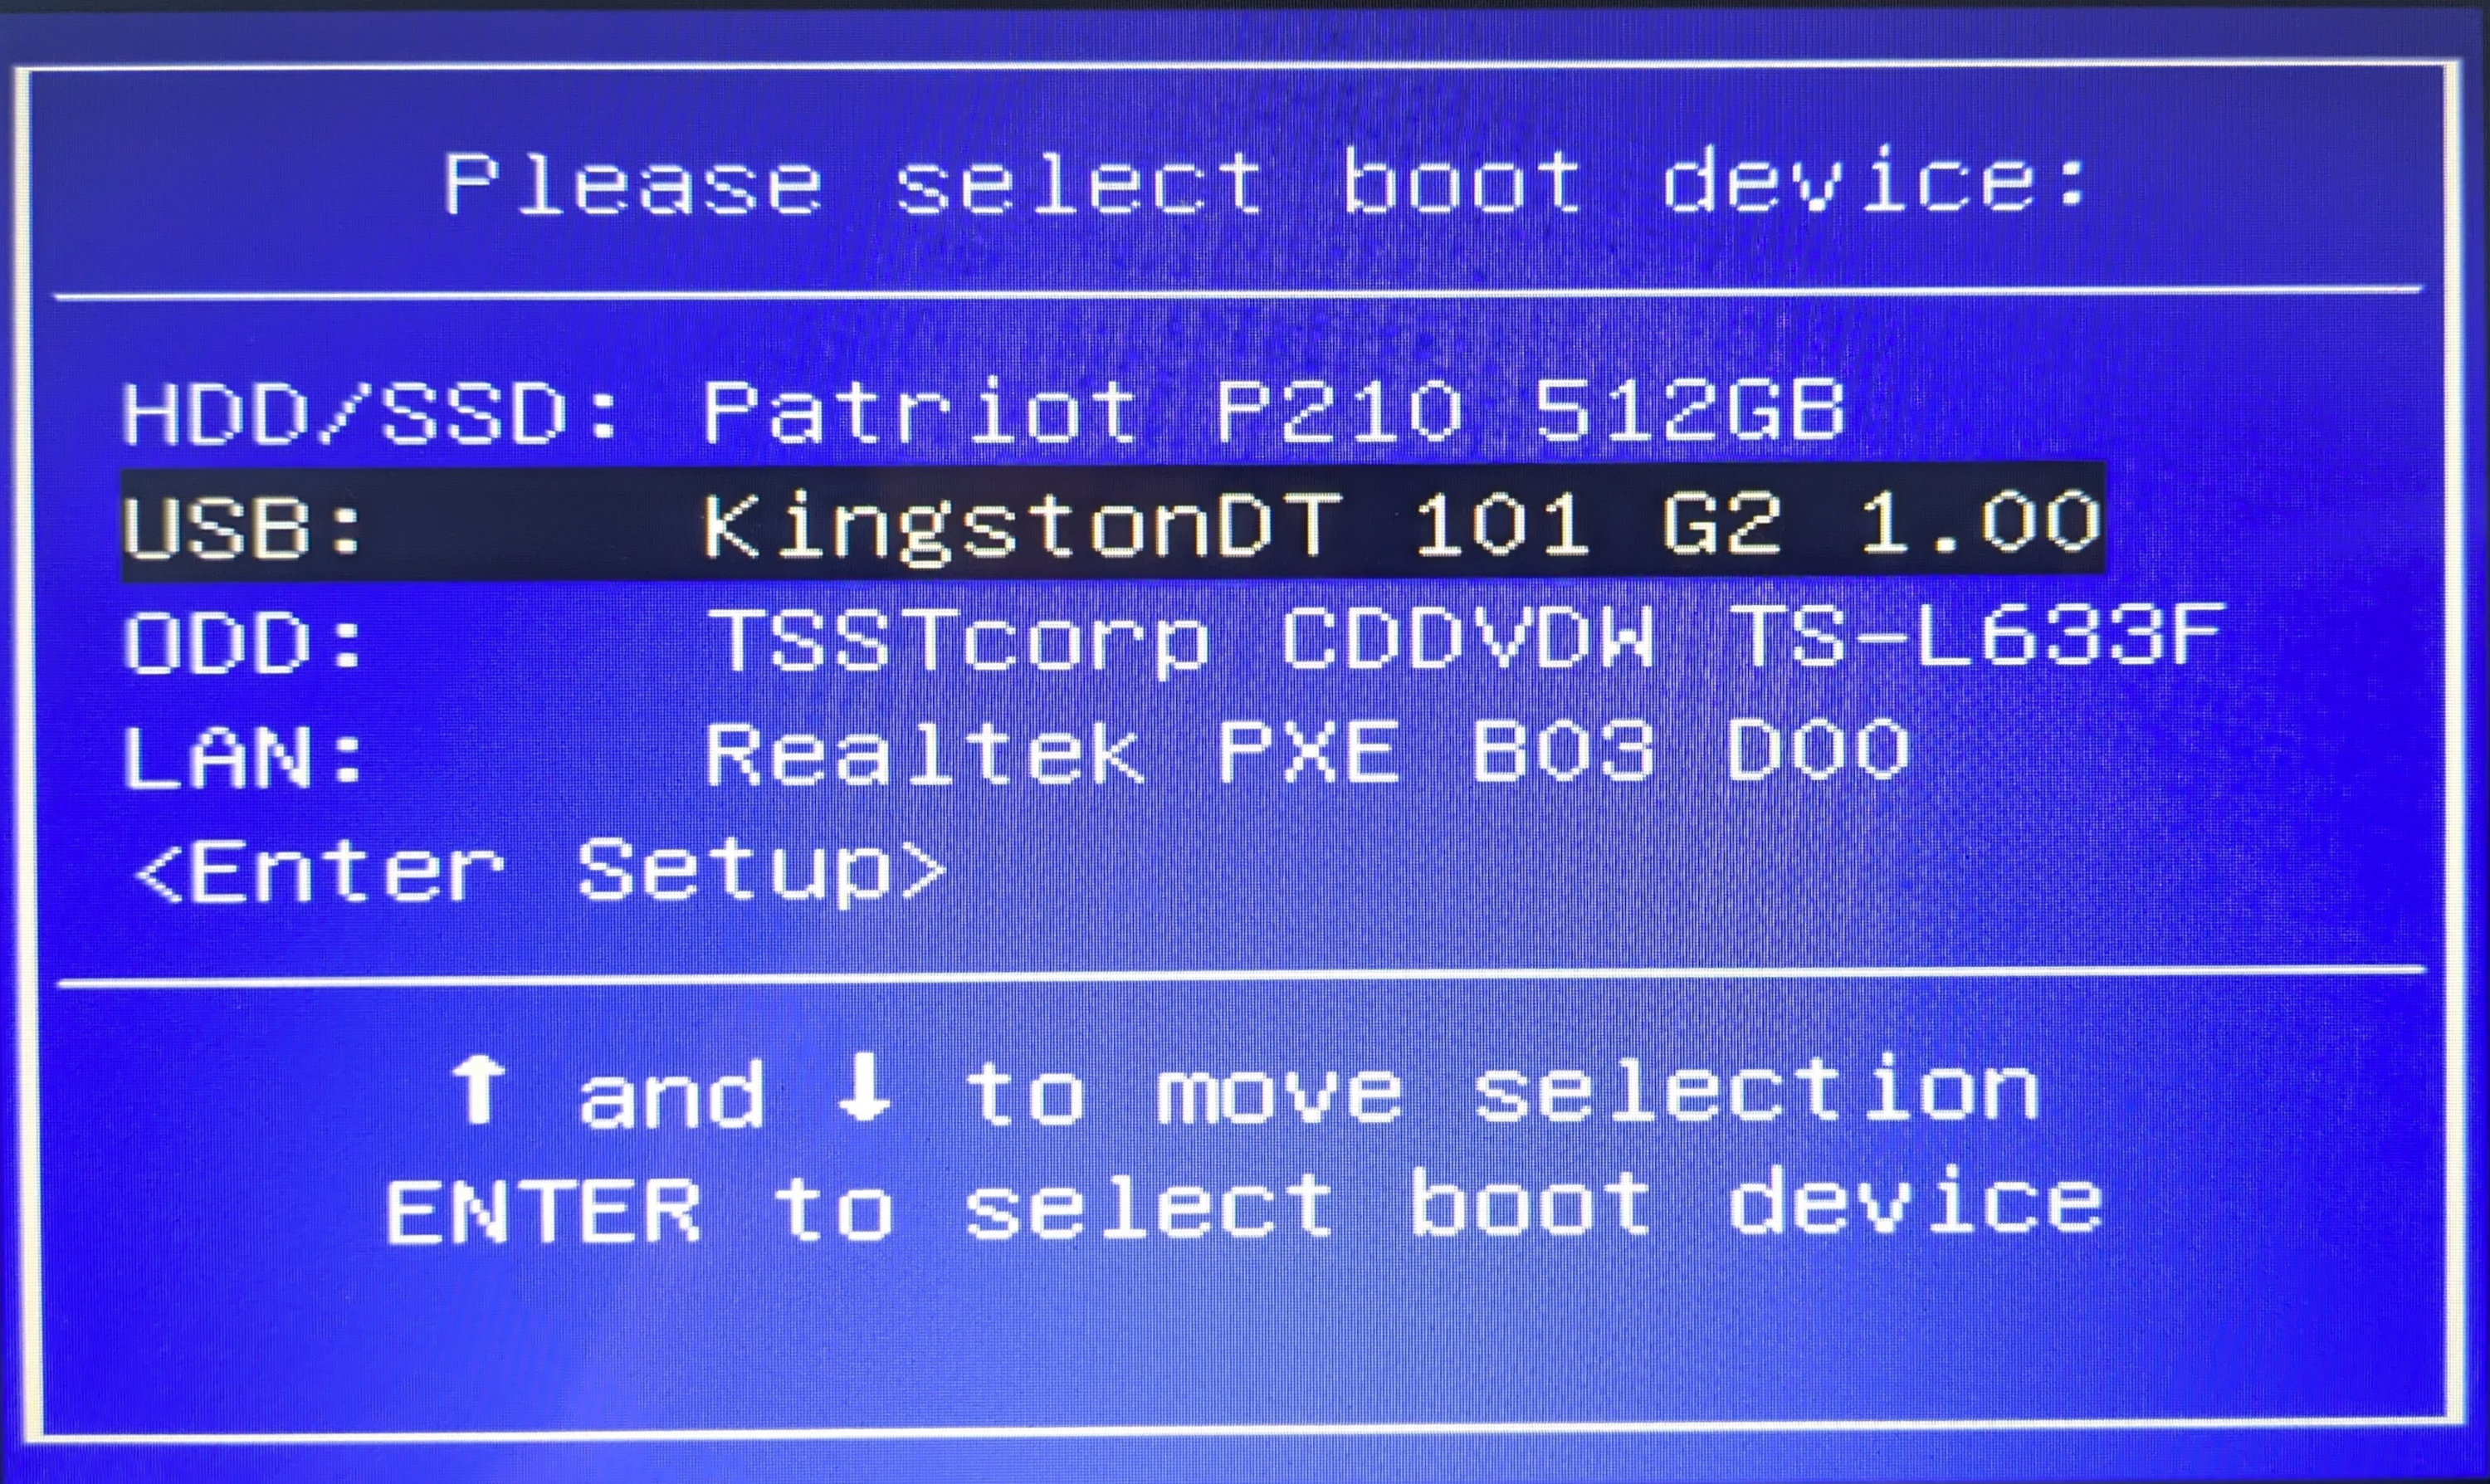
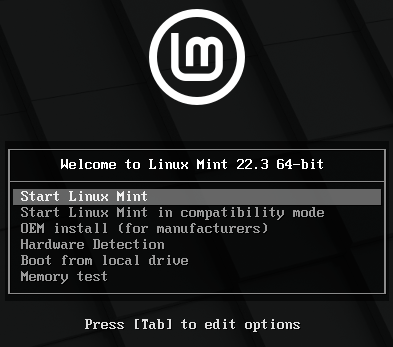
7: Linux Mint will begin to boot!

8: You will see the Mint Boot Menu – Choose “Start Linux Mint”
or just wait, and it will automatically start.
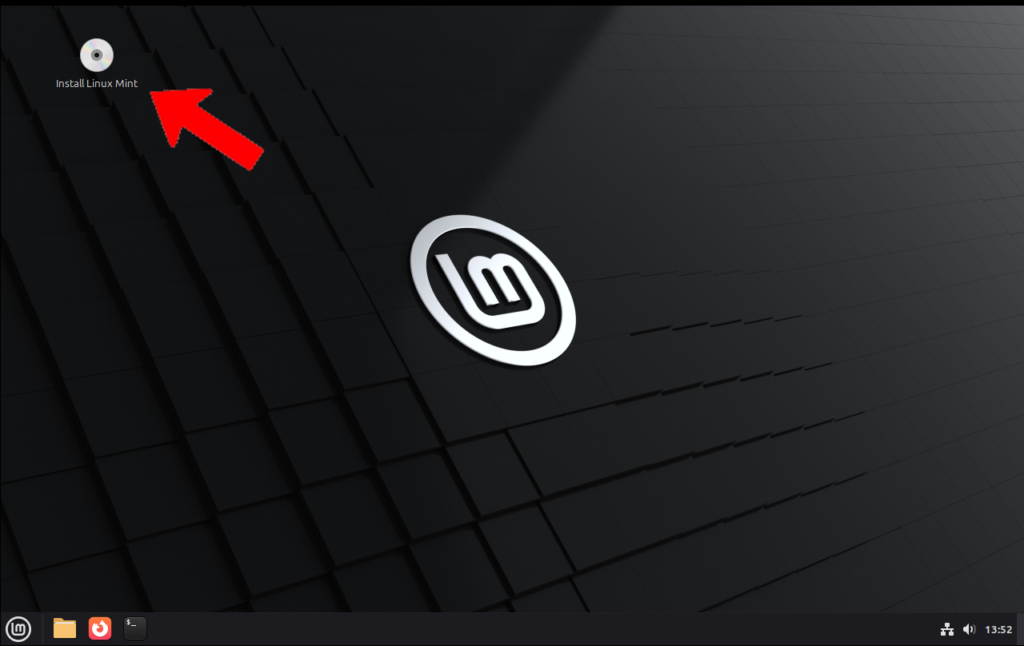
9: Linux Mint is running!
Double-click on “Install Linux Mint” in the upper left corner to install Mint to your hard drive.
10: Choose your Language.
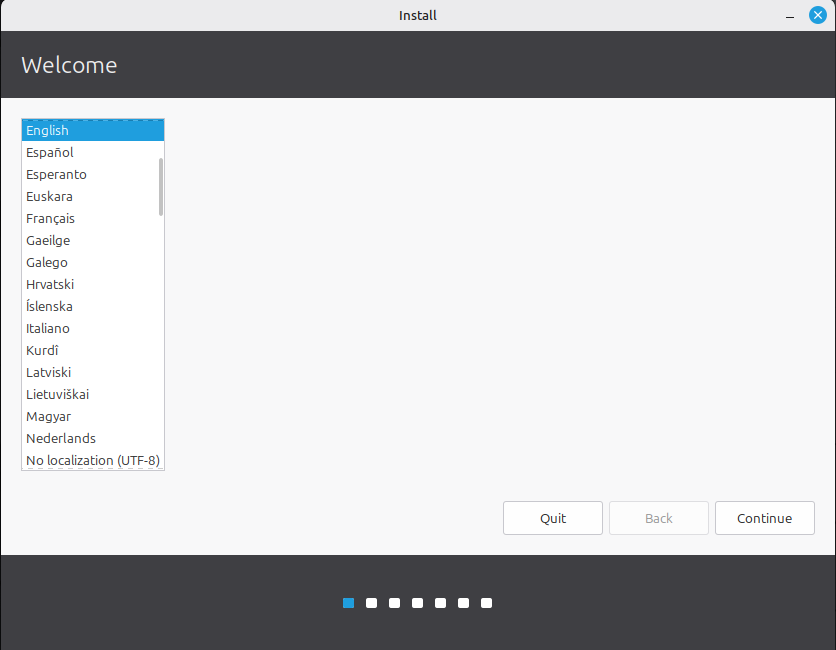
11: Choose your keyboard layout – It should default to English.
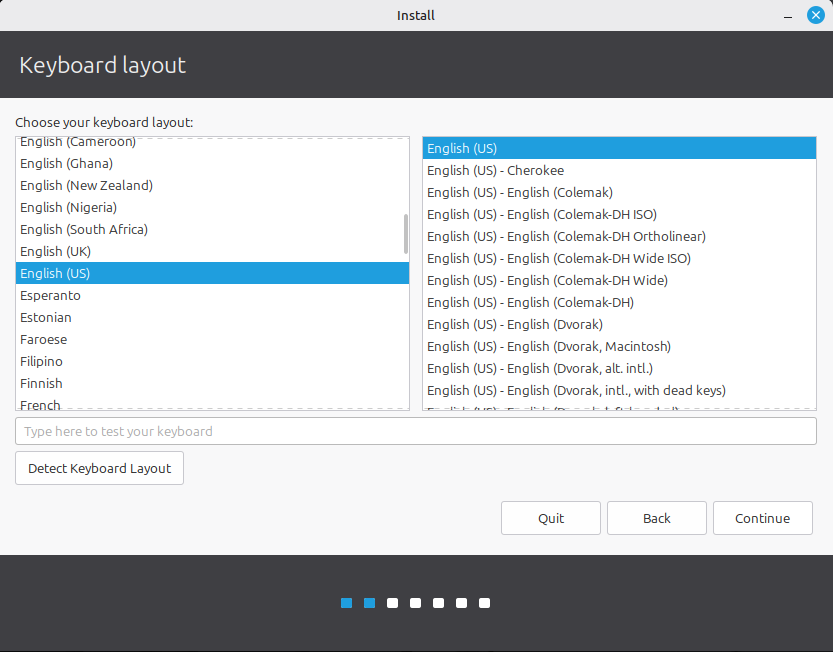
12: Since you may use this to play audio and video files, I would suggest that you install the Multimedia codecs.
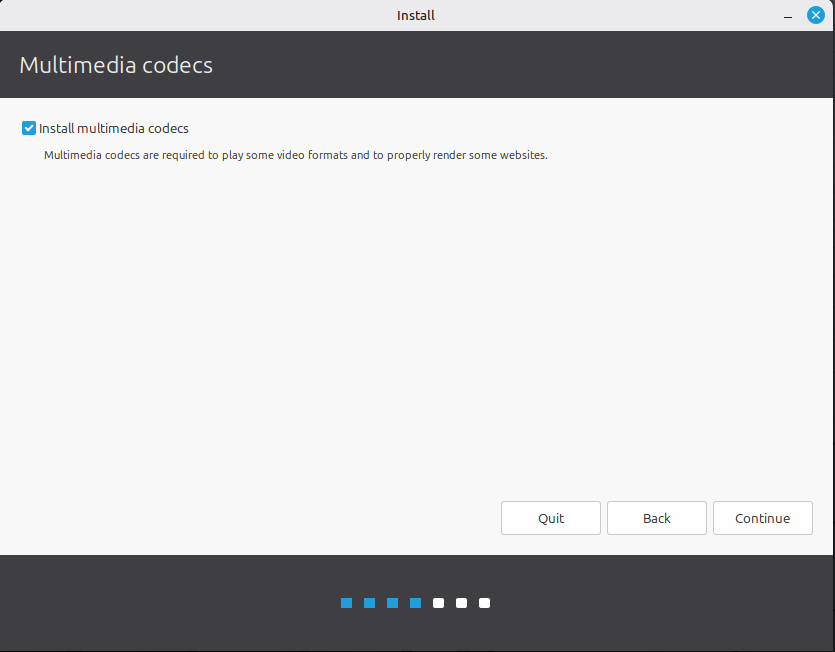
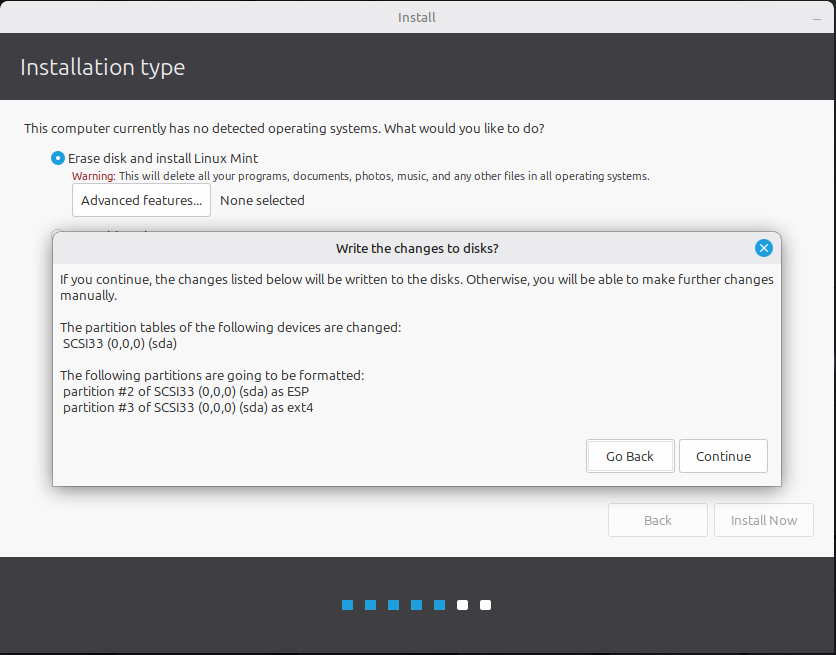
13: Choose “Erase disk and install Linux Mint to your hard drive.
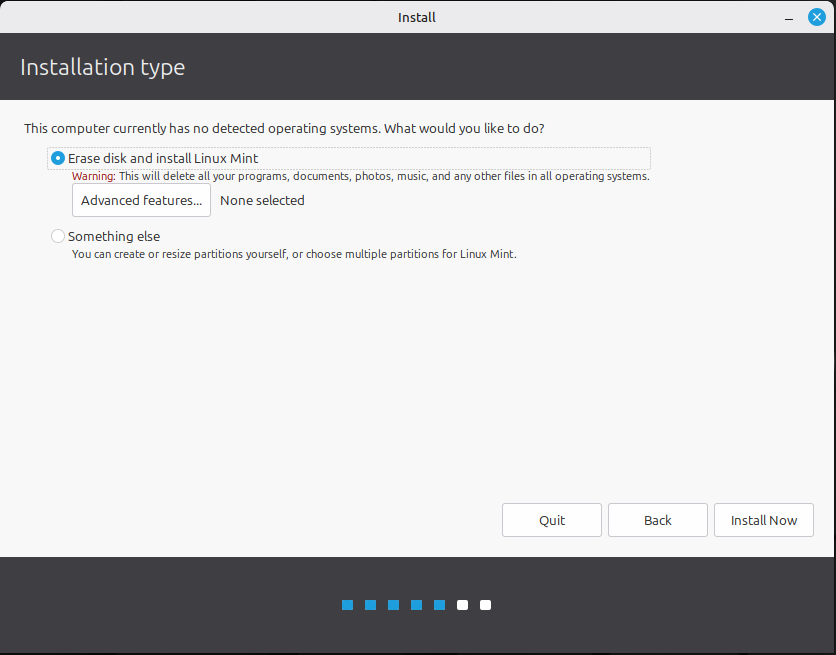
14: Confirm that you want to install this on your hard drive.
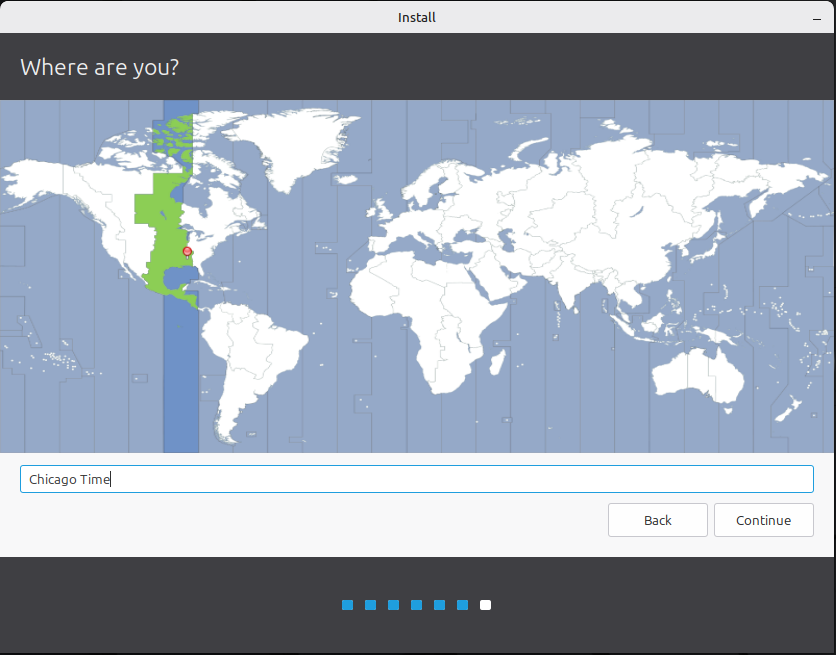
15: Choose your timezone.
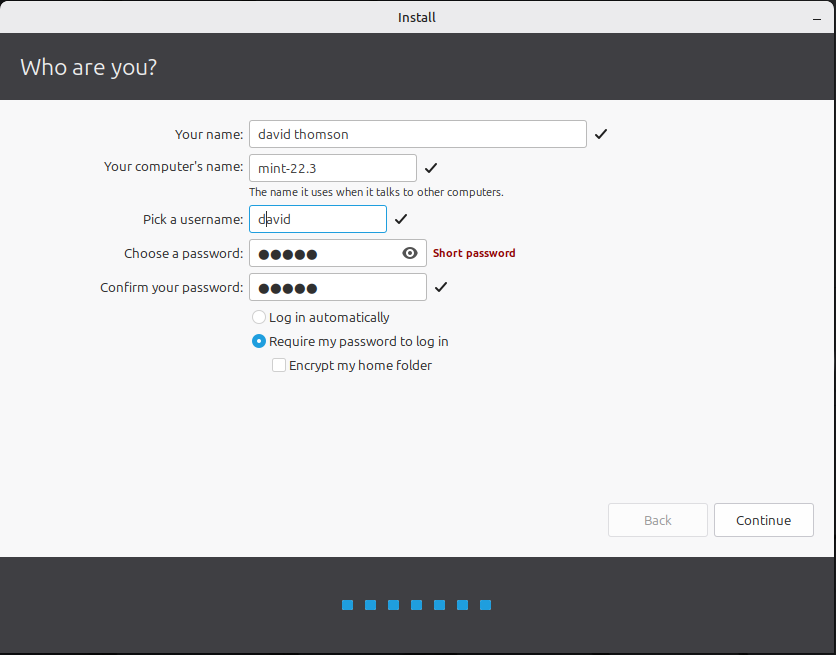
16: Enter your Name, Computer Name (this is what will be seen by other computers on your network), username and password.
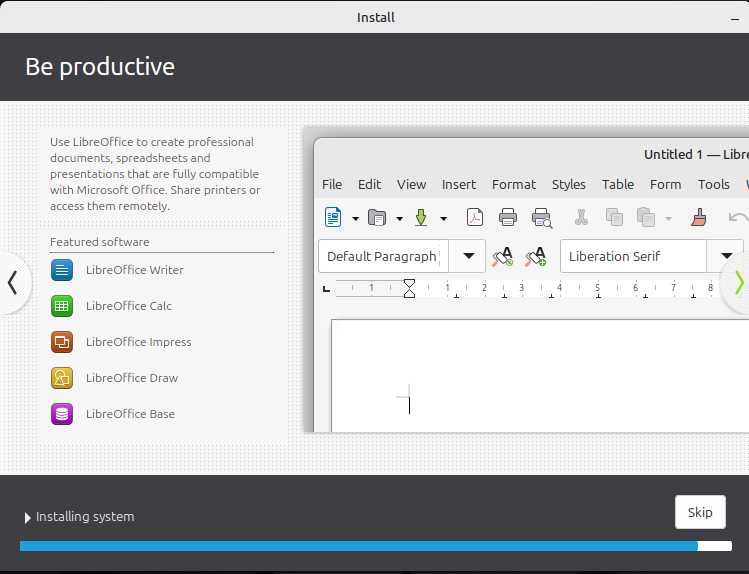
17: The system will now install to your hard drive.
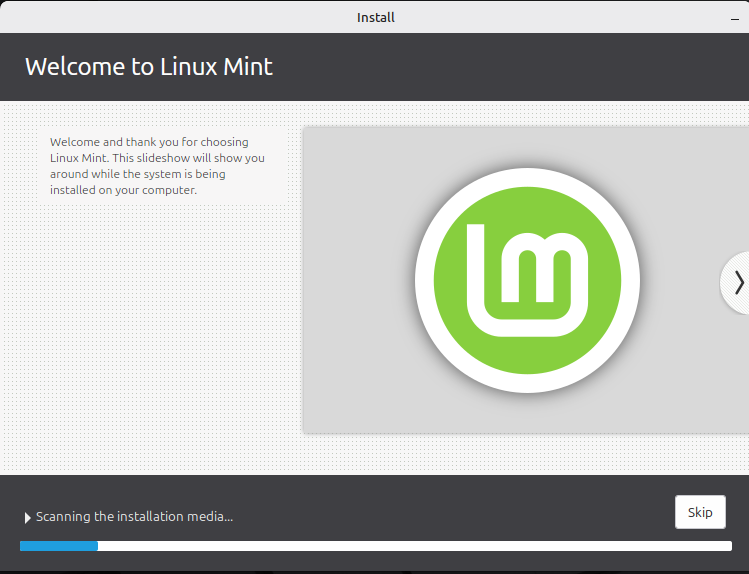
18: The installer will inform you of some of the other software that is being installed like: VLC (great audio/video player) and LibreOffice (compatible with Word and Excel).
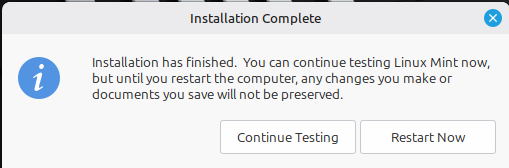
19: Time to restart and run Mint from your hard drive.
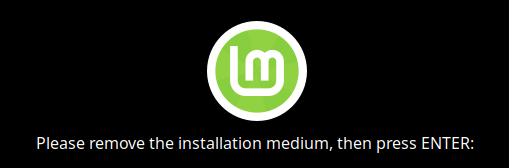
20: Remove your flash drive and press <Enter>
The system will reboot.
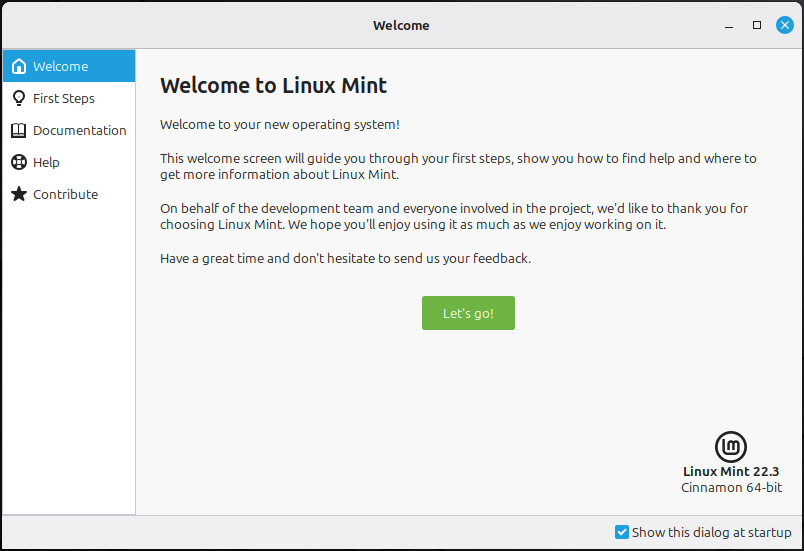
21: Upon your reboot you will be welcomed to Mint.
Leave a Reply